Owning a bank account has never been easy. With all the required documentations, and going back-and-forth to the bank takes a lot of time. This time, some banks including BPI have added the feature and capability to allow this process to be done completely remotely.
Union Bank is also one of the top financial banks in the Philippines and you can be sure that they will do their best to accommodate your needs.
The Process
01. Download the UnionBank application from the Google PlayStore and Apple AppStore.
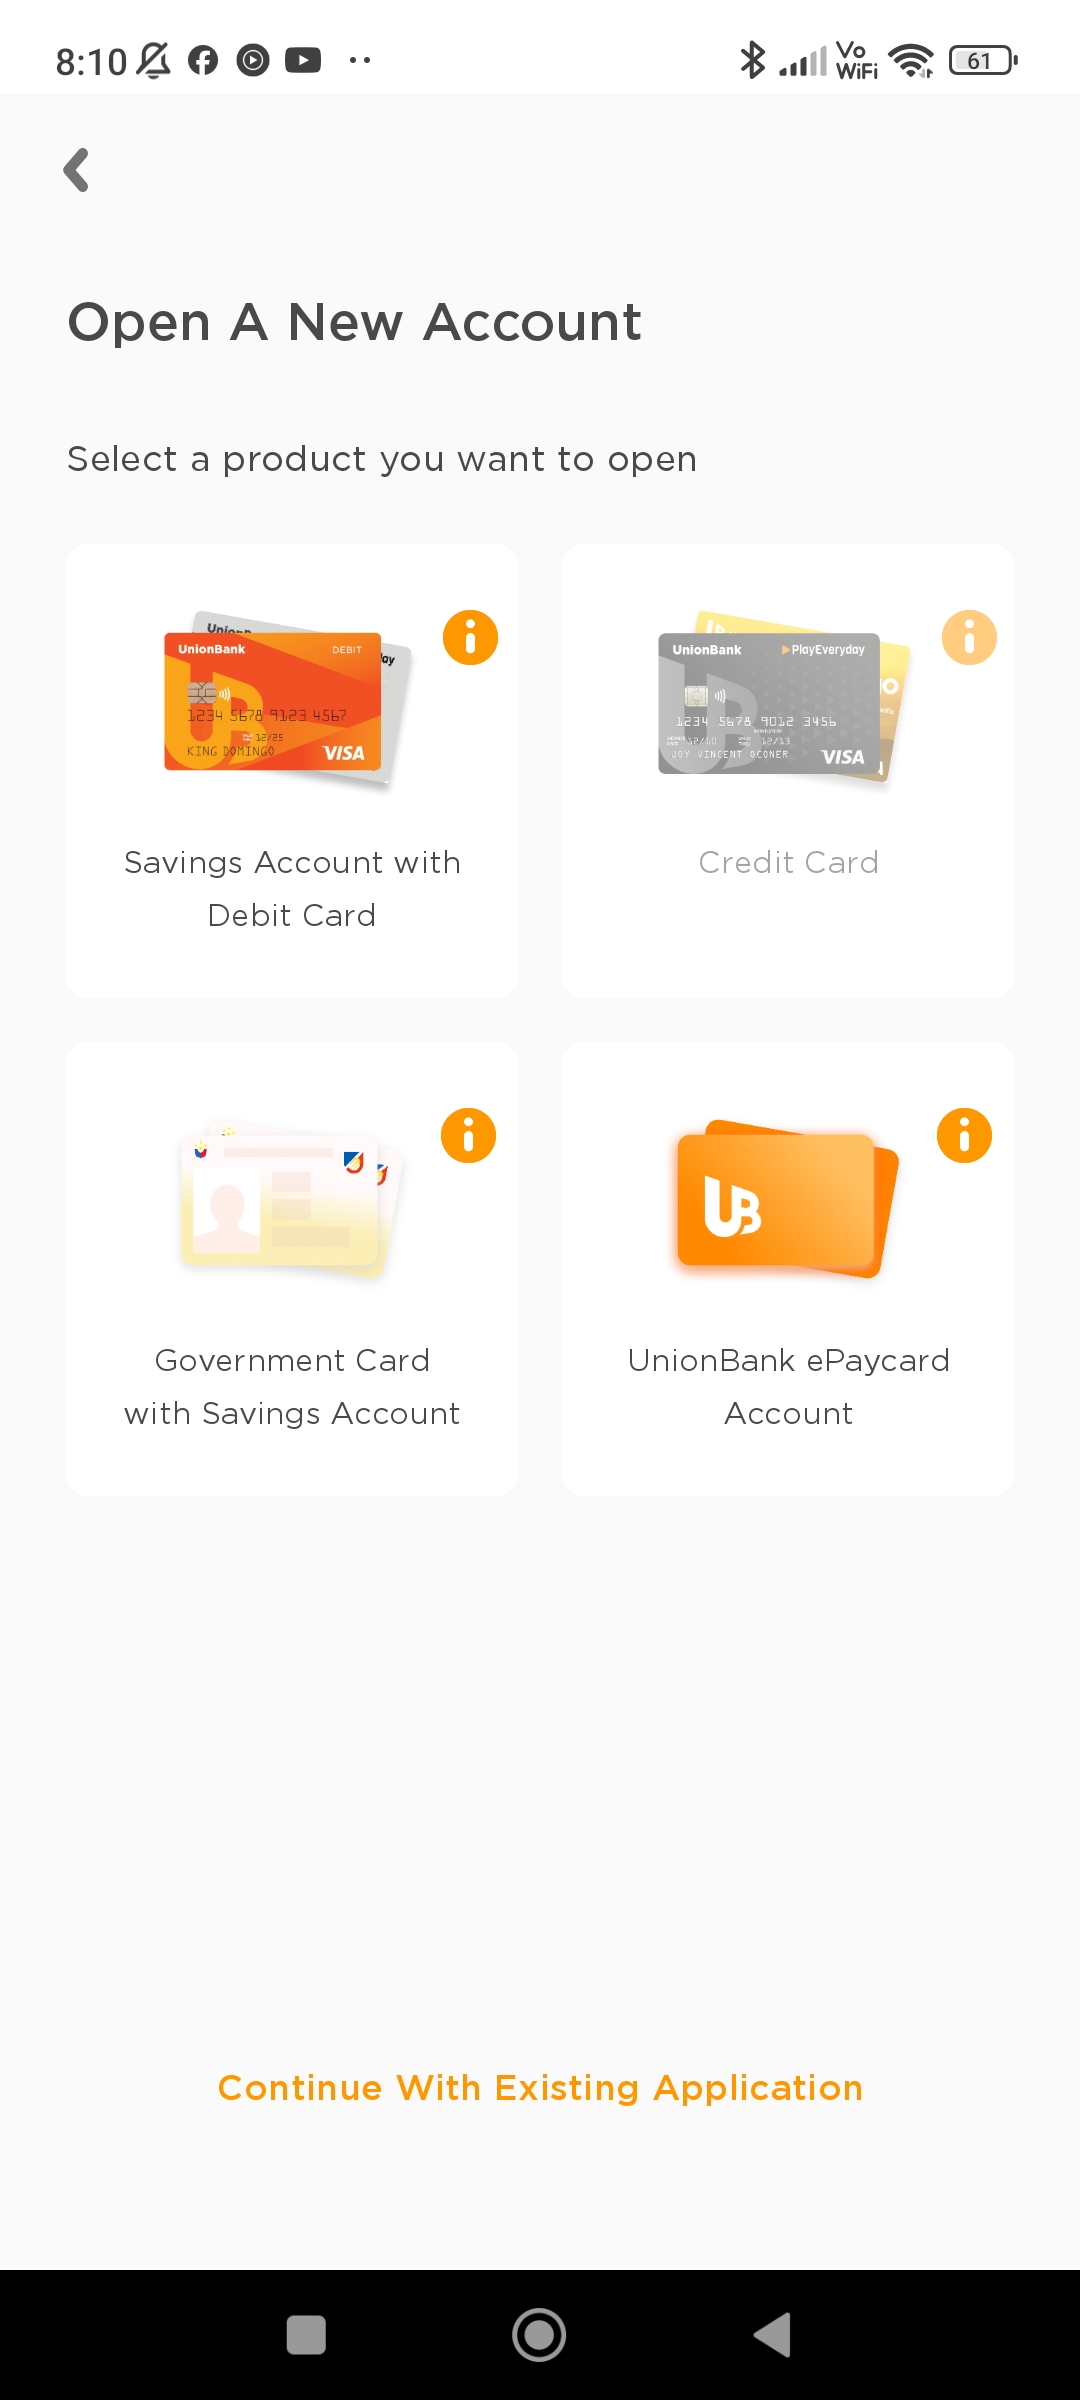
02. Select on the “Open An Account” button
03. Select the “Savings Account with Debit Card” option.
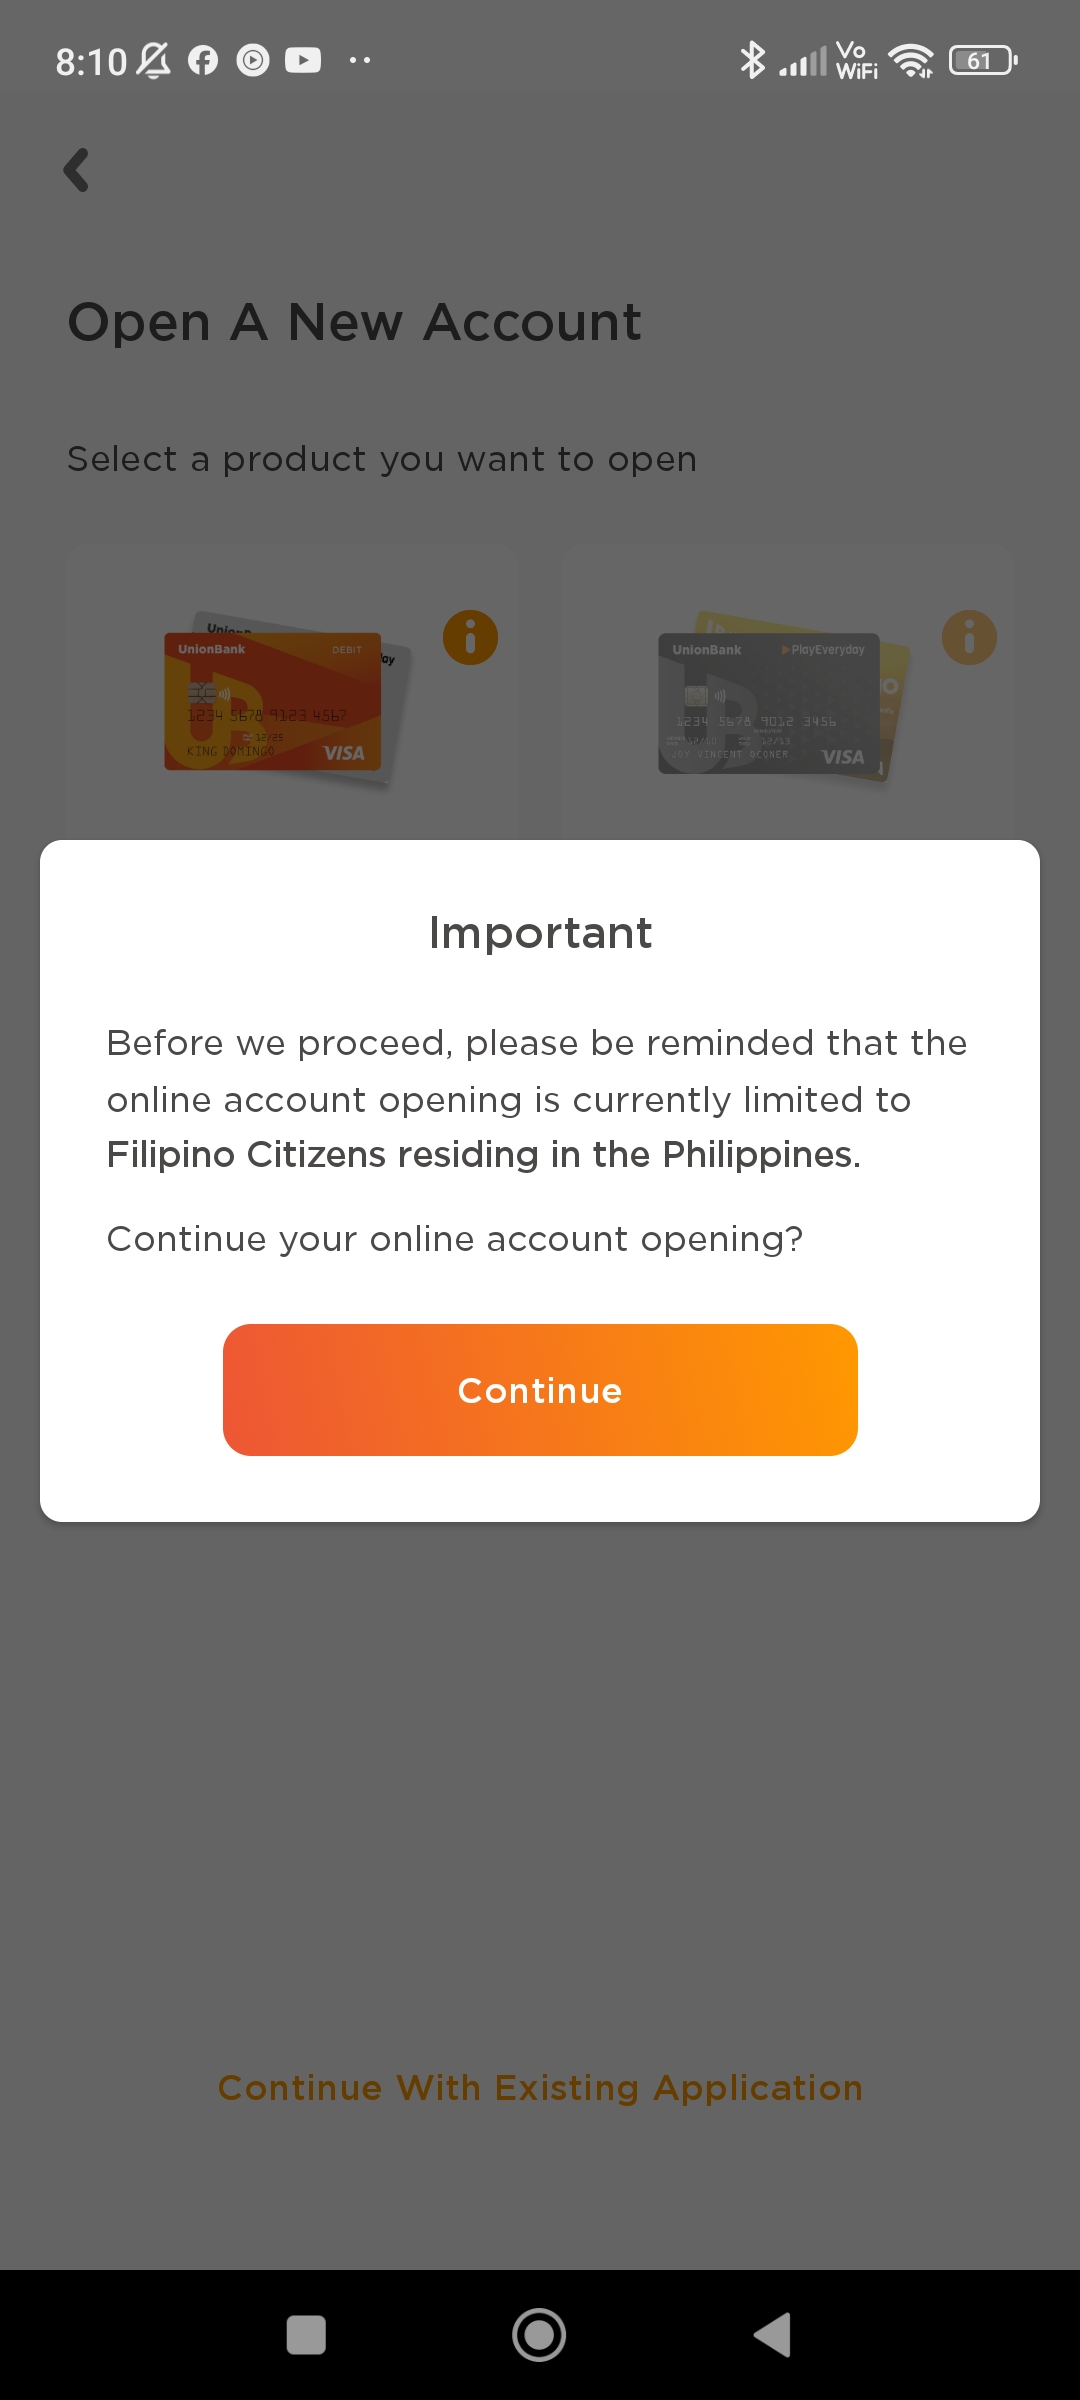
04. An important reminder will also be shown that this feature is only available for Filipino Citizens residing in the Philippines.
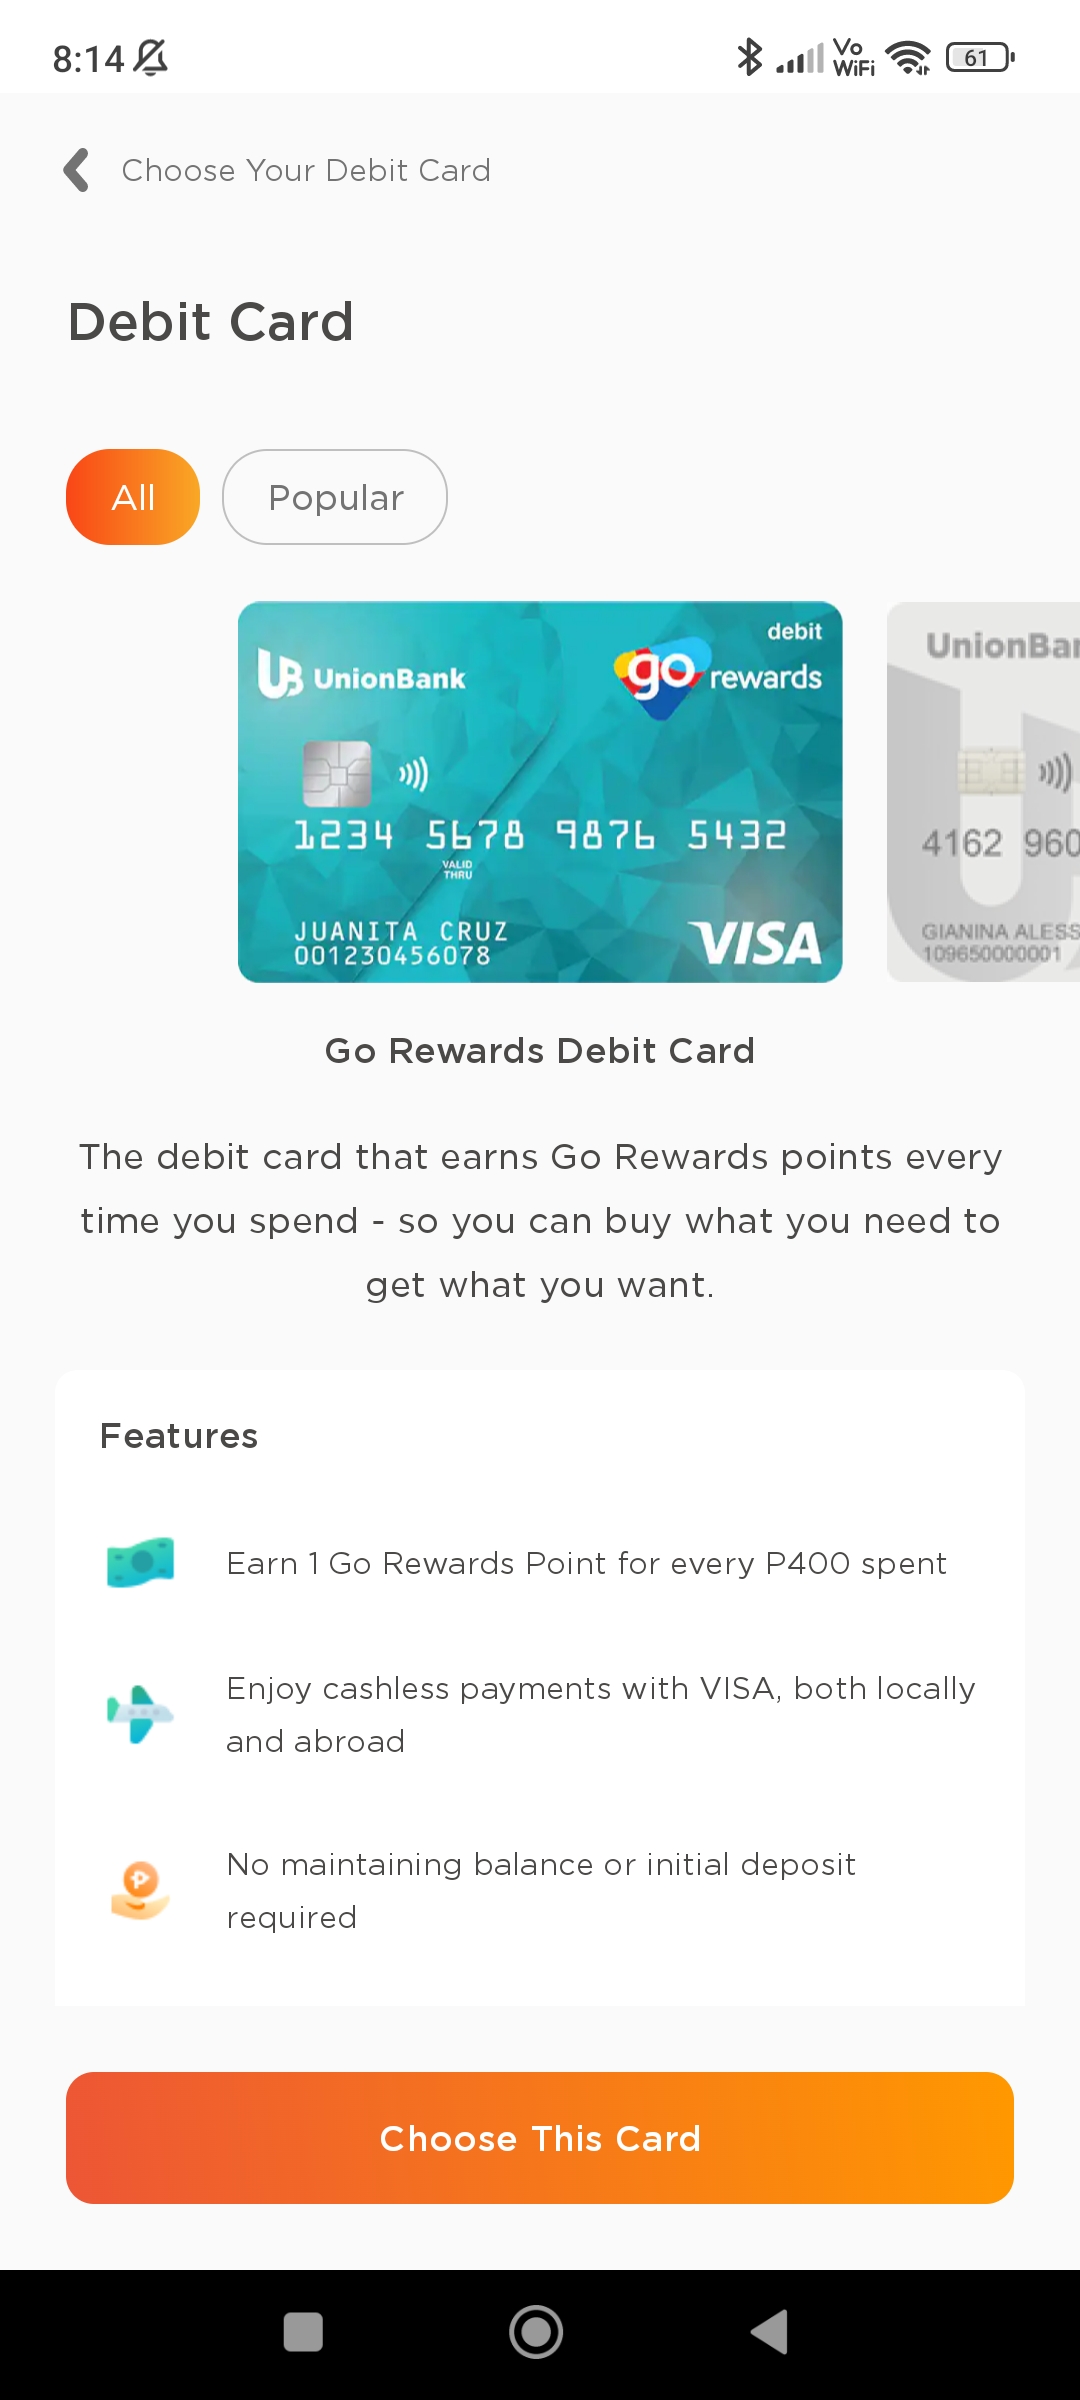
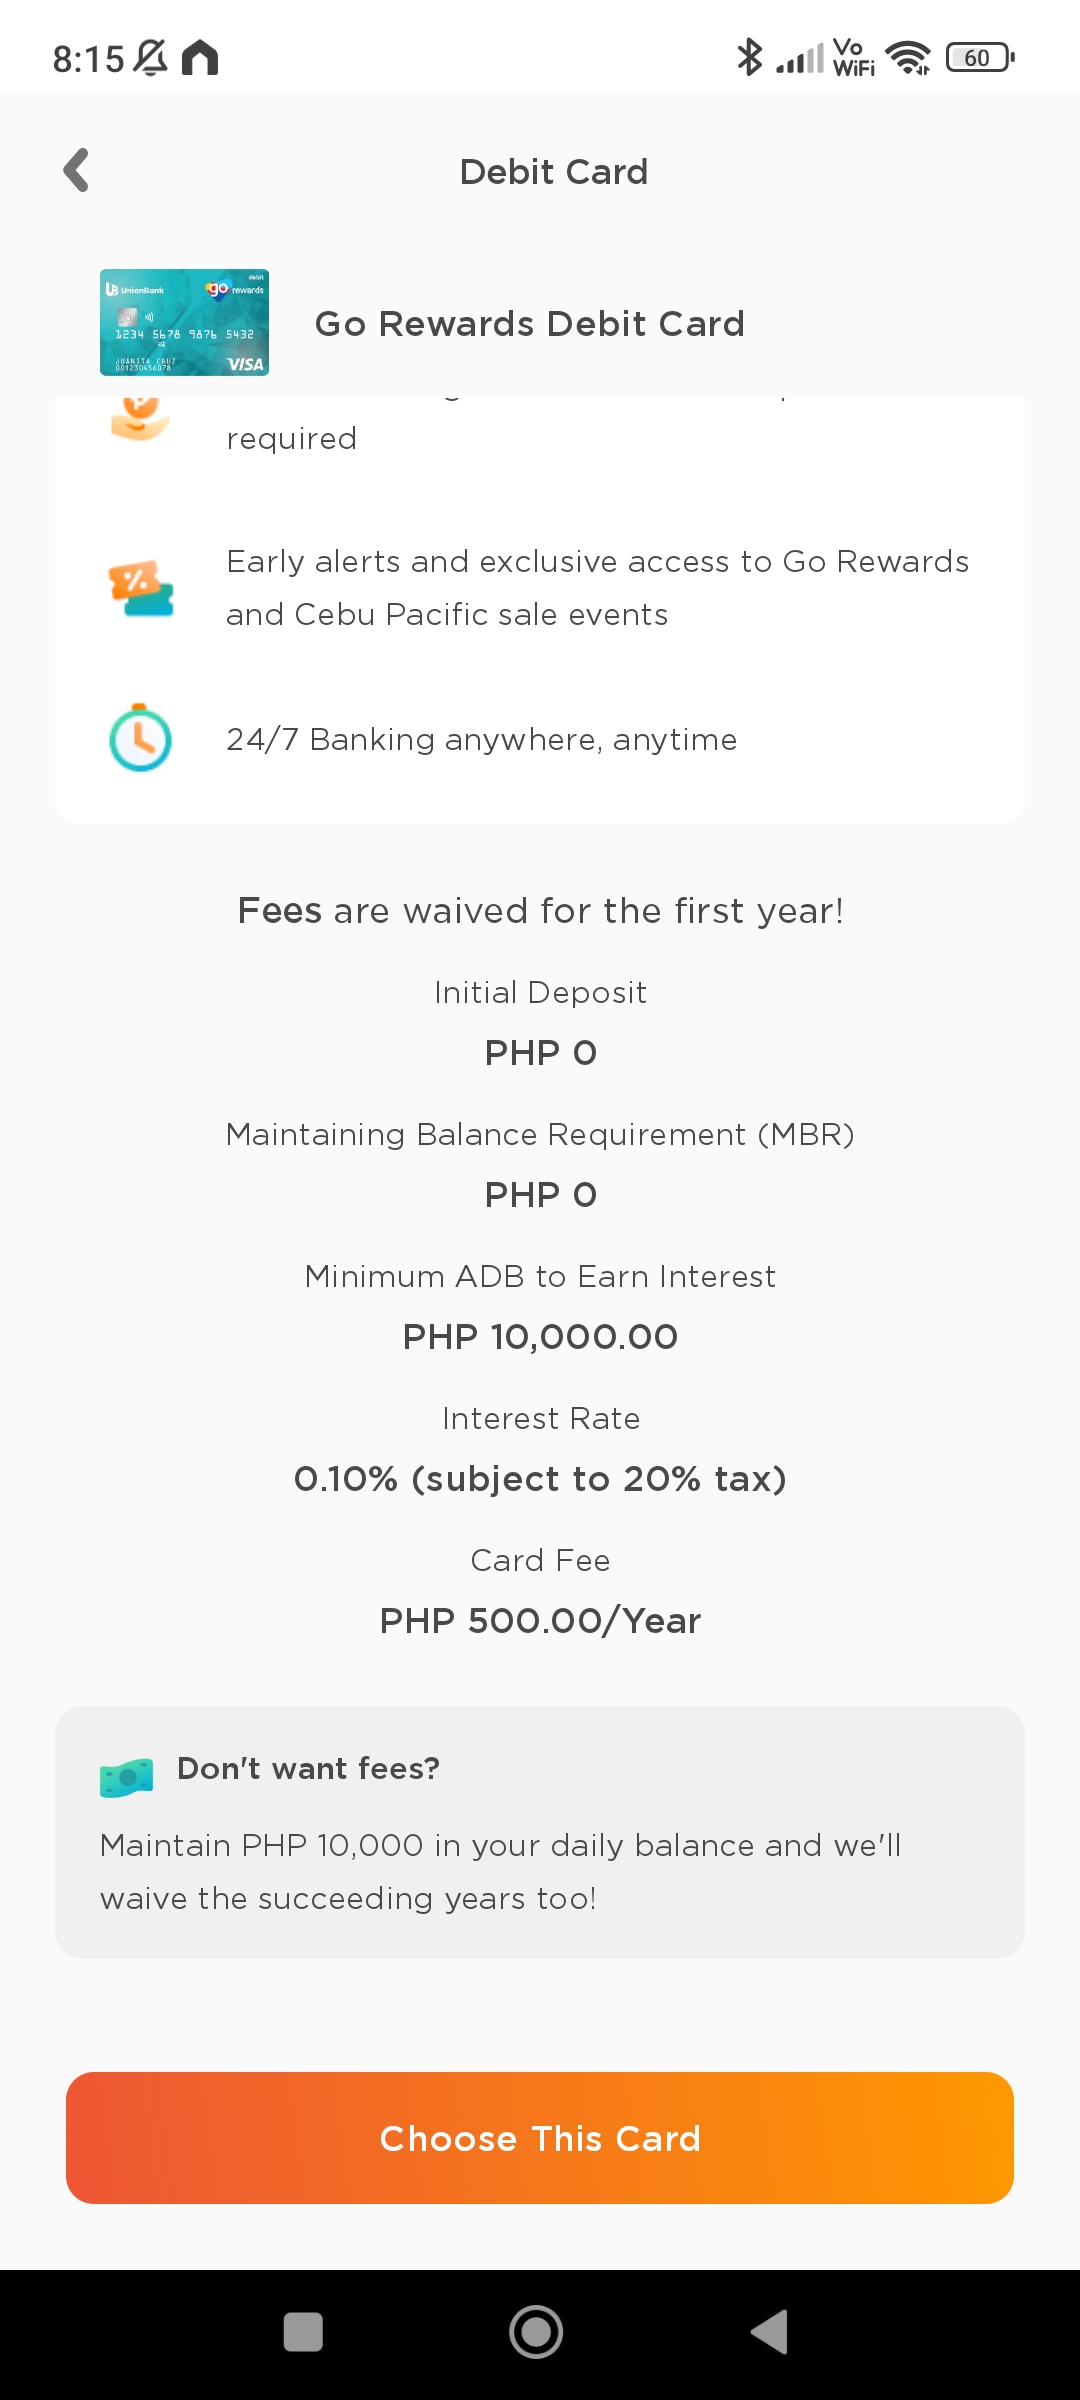
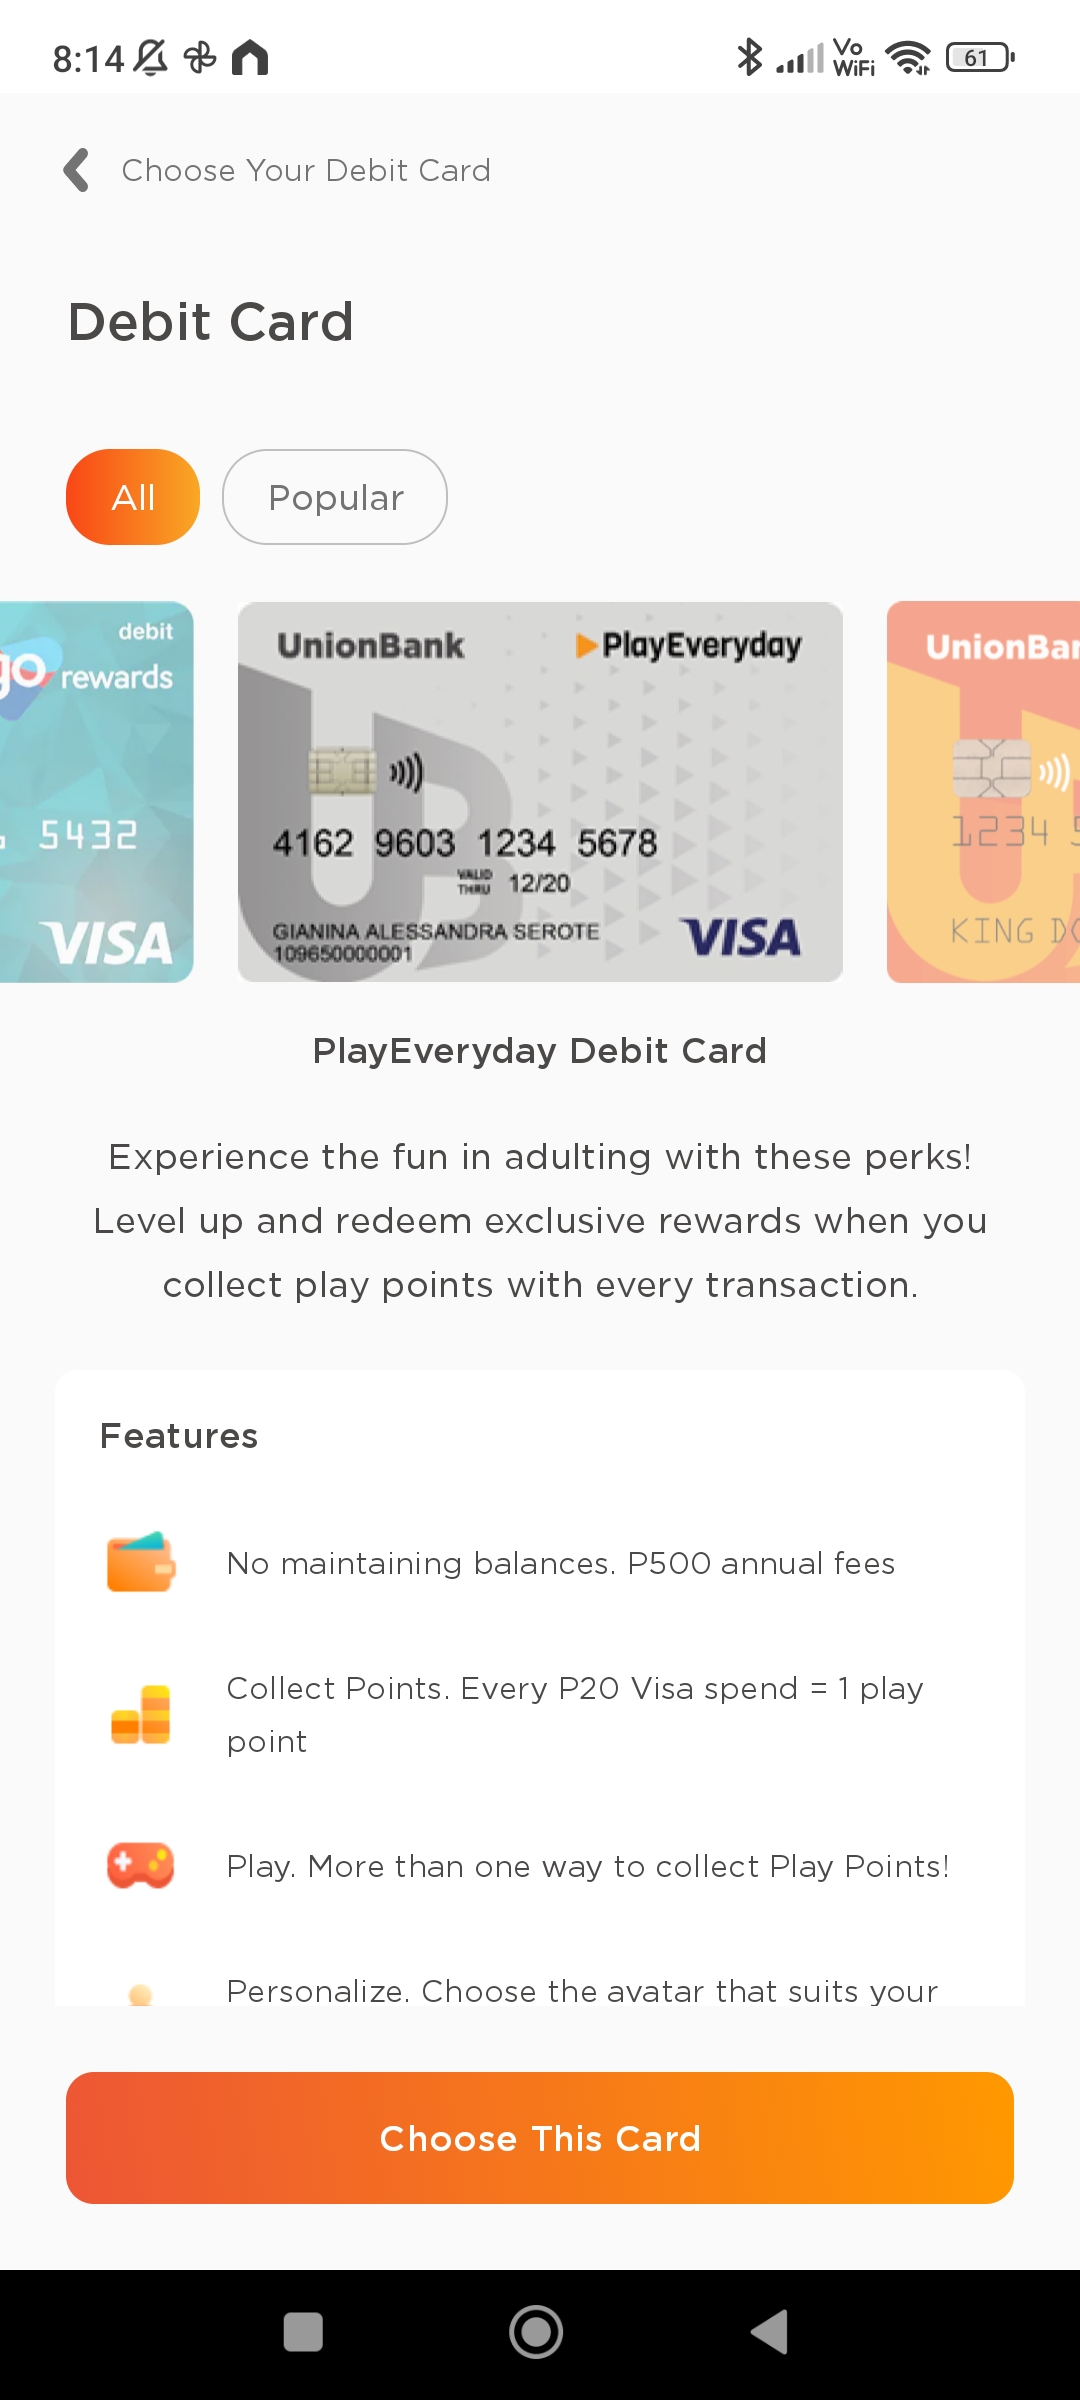
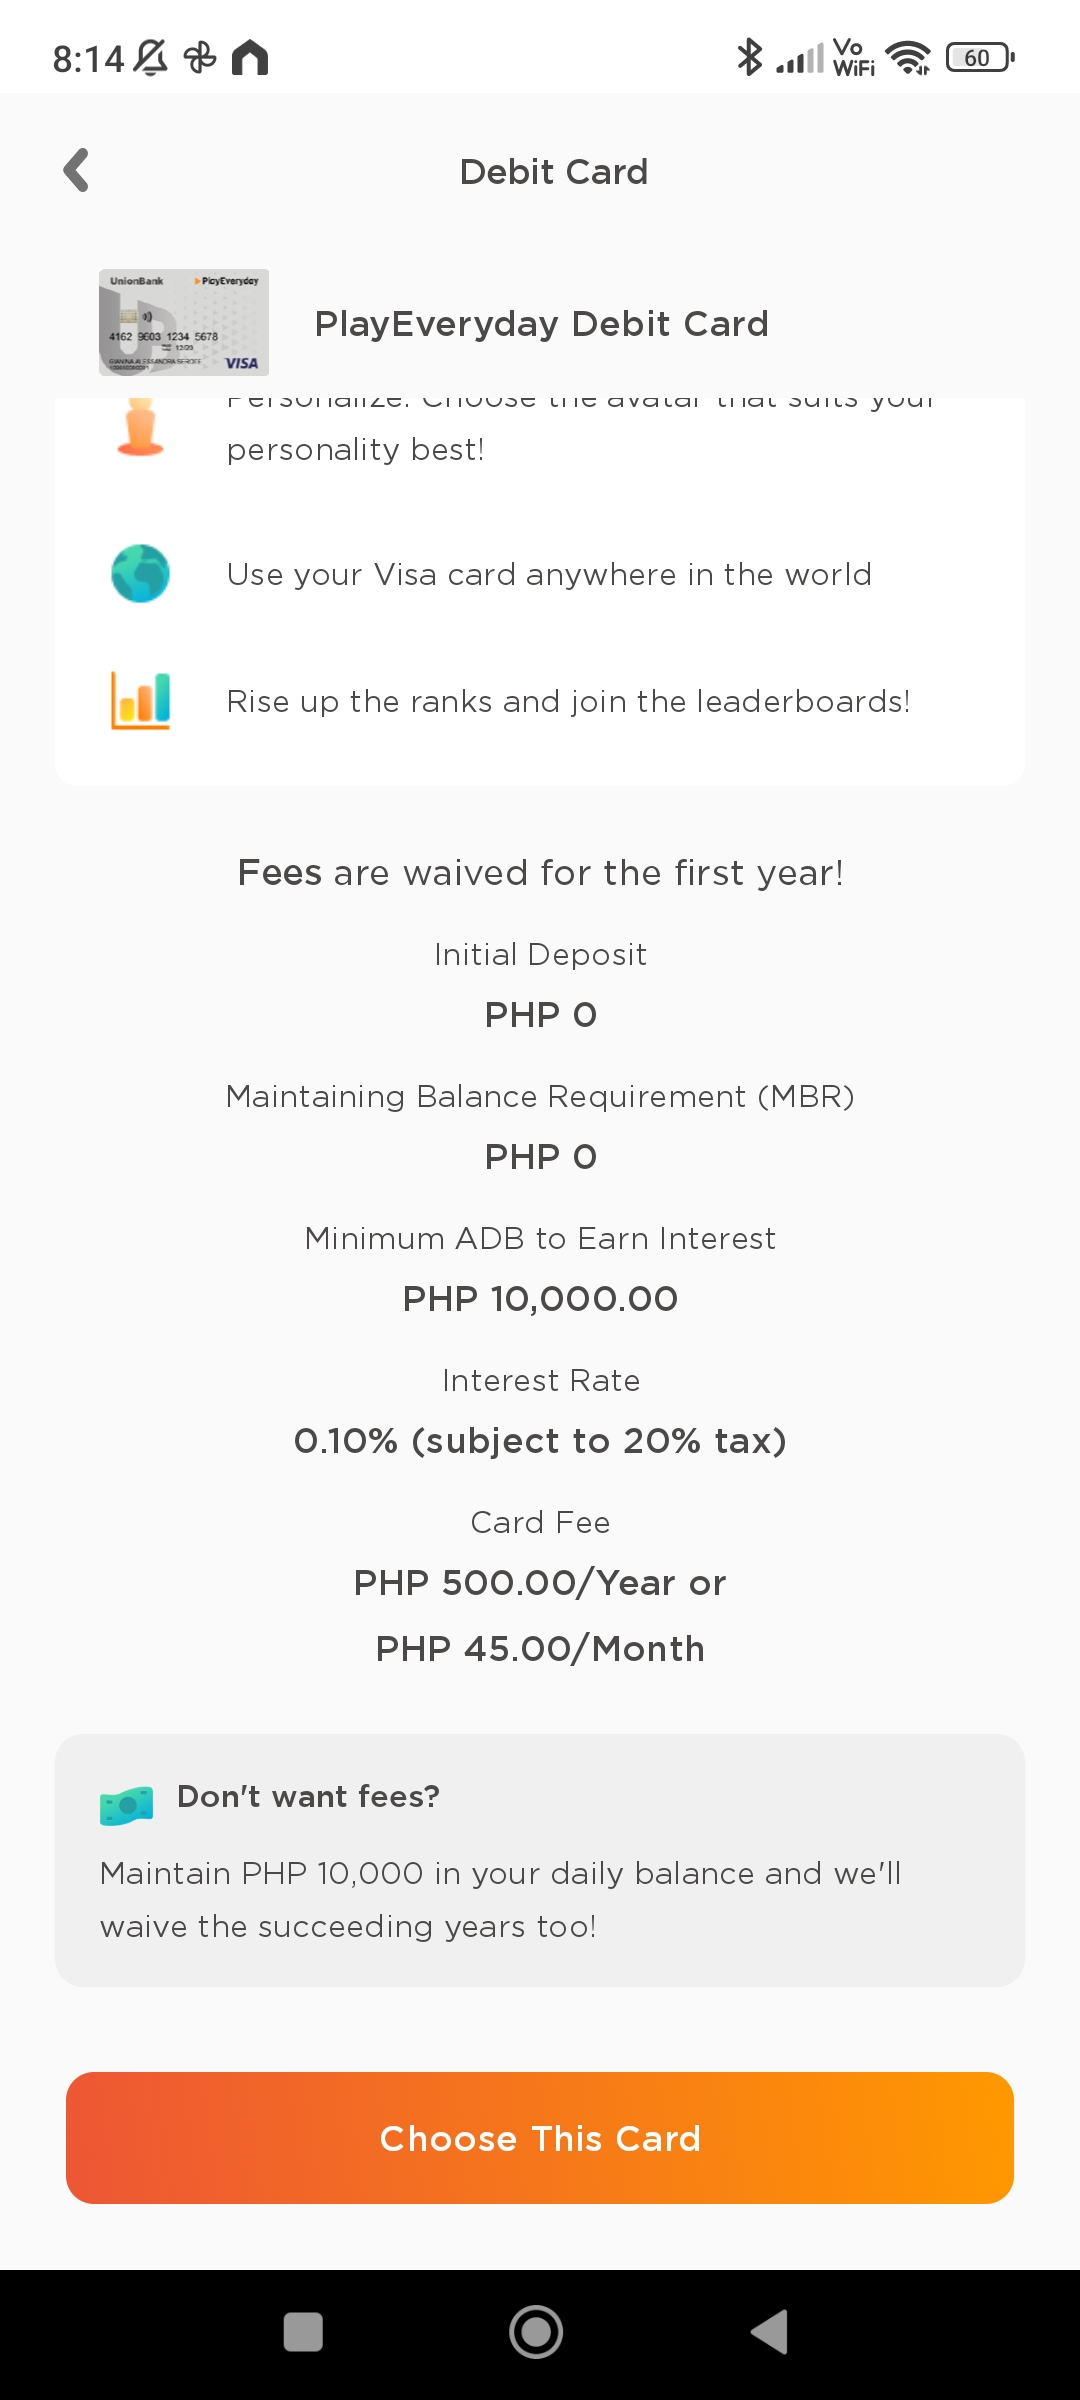
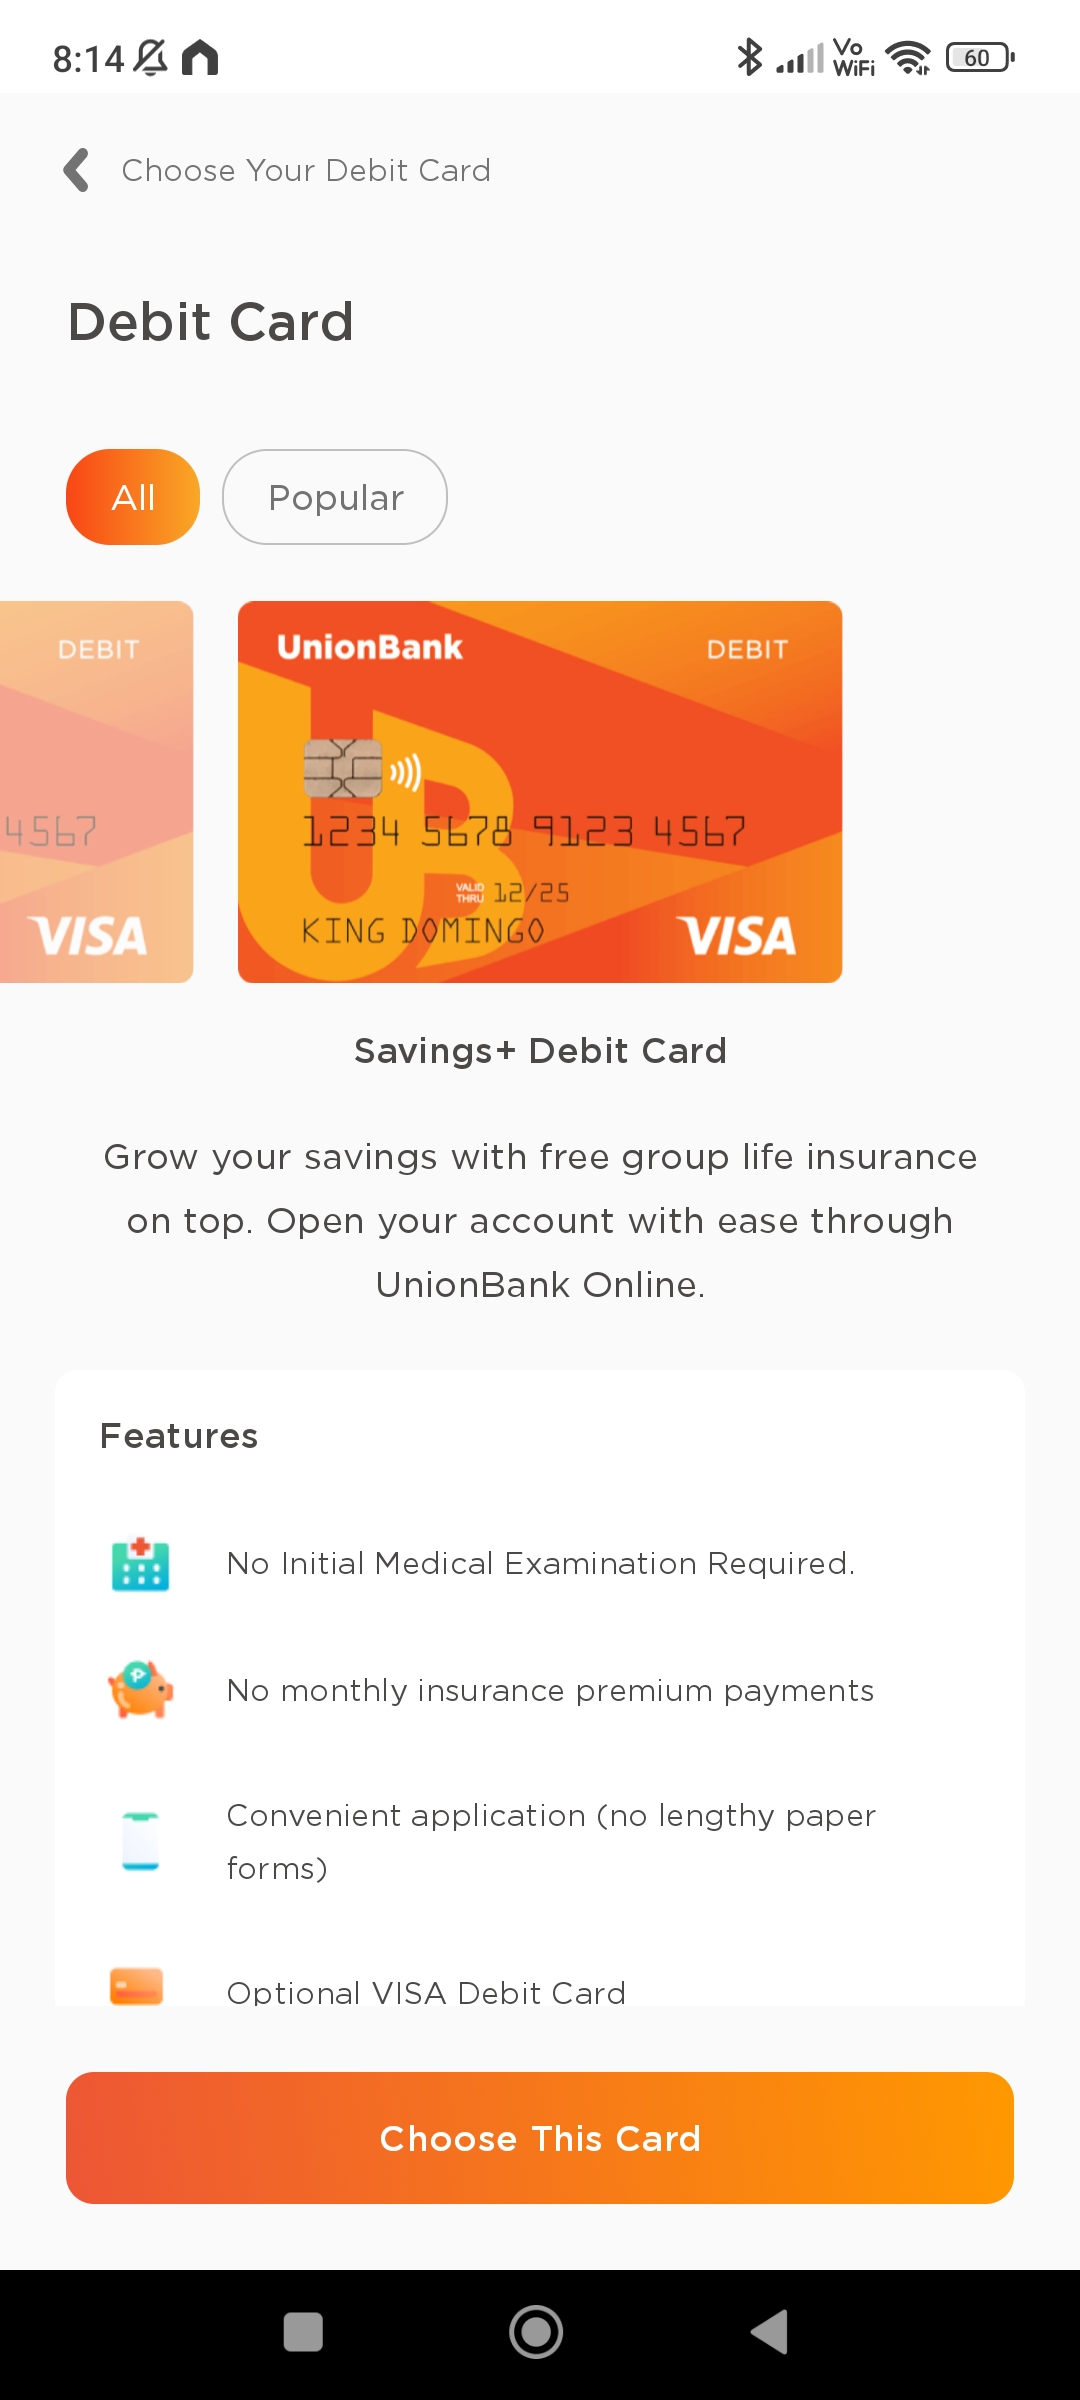
05. Choose your type of Debit Card
Go Rewards
PlayEveryday
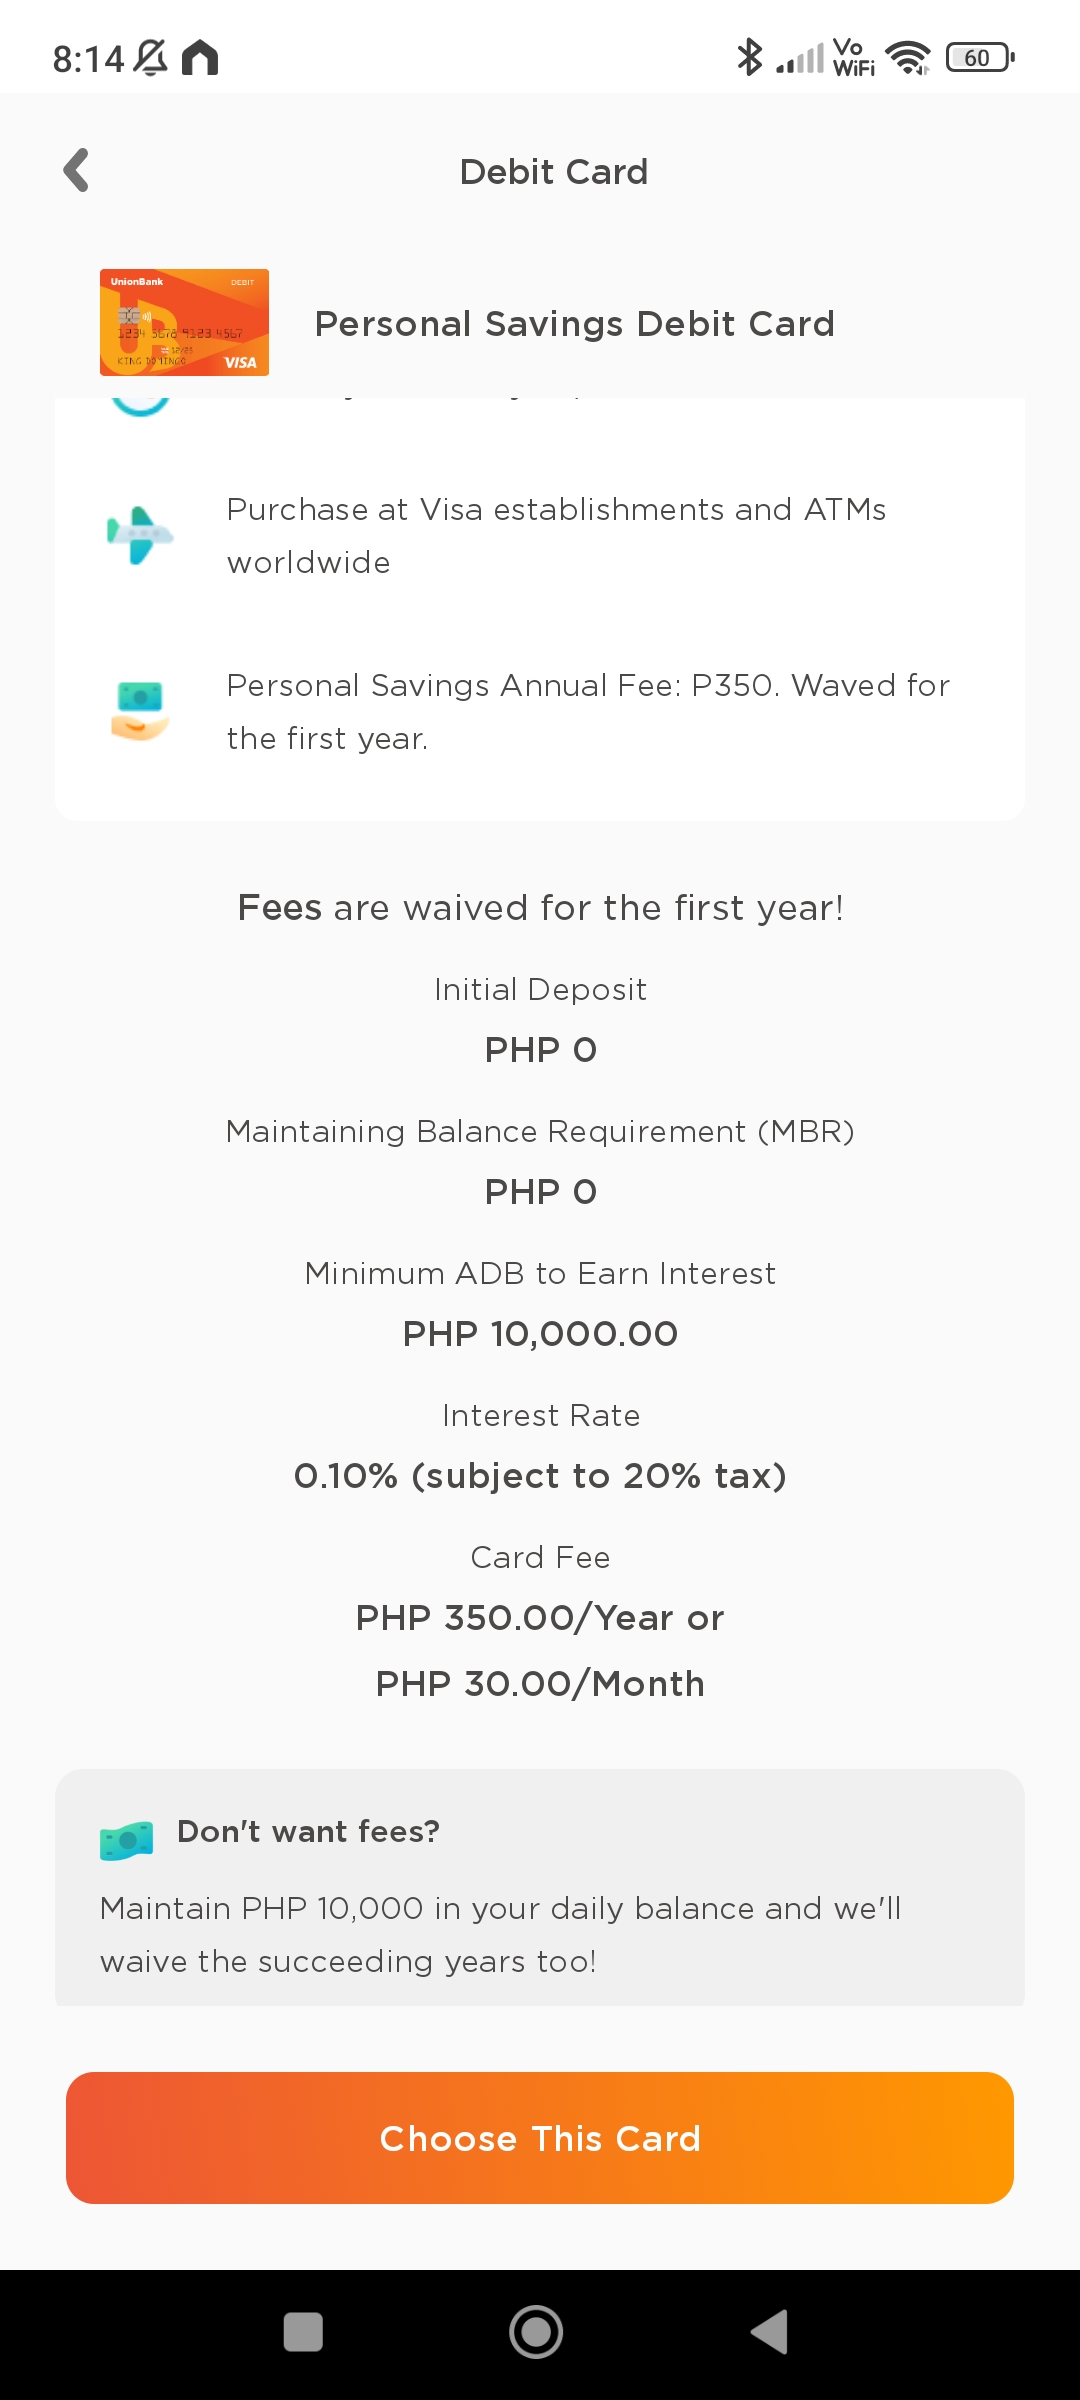
Personal Savings
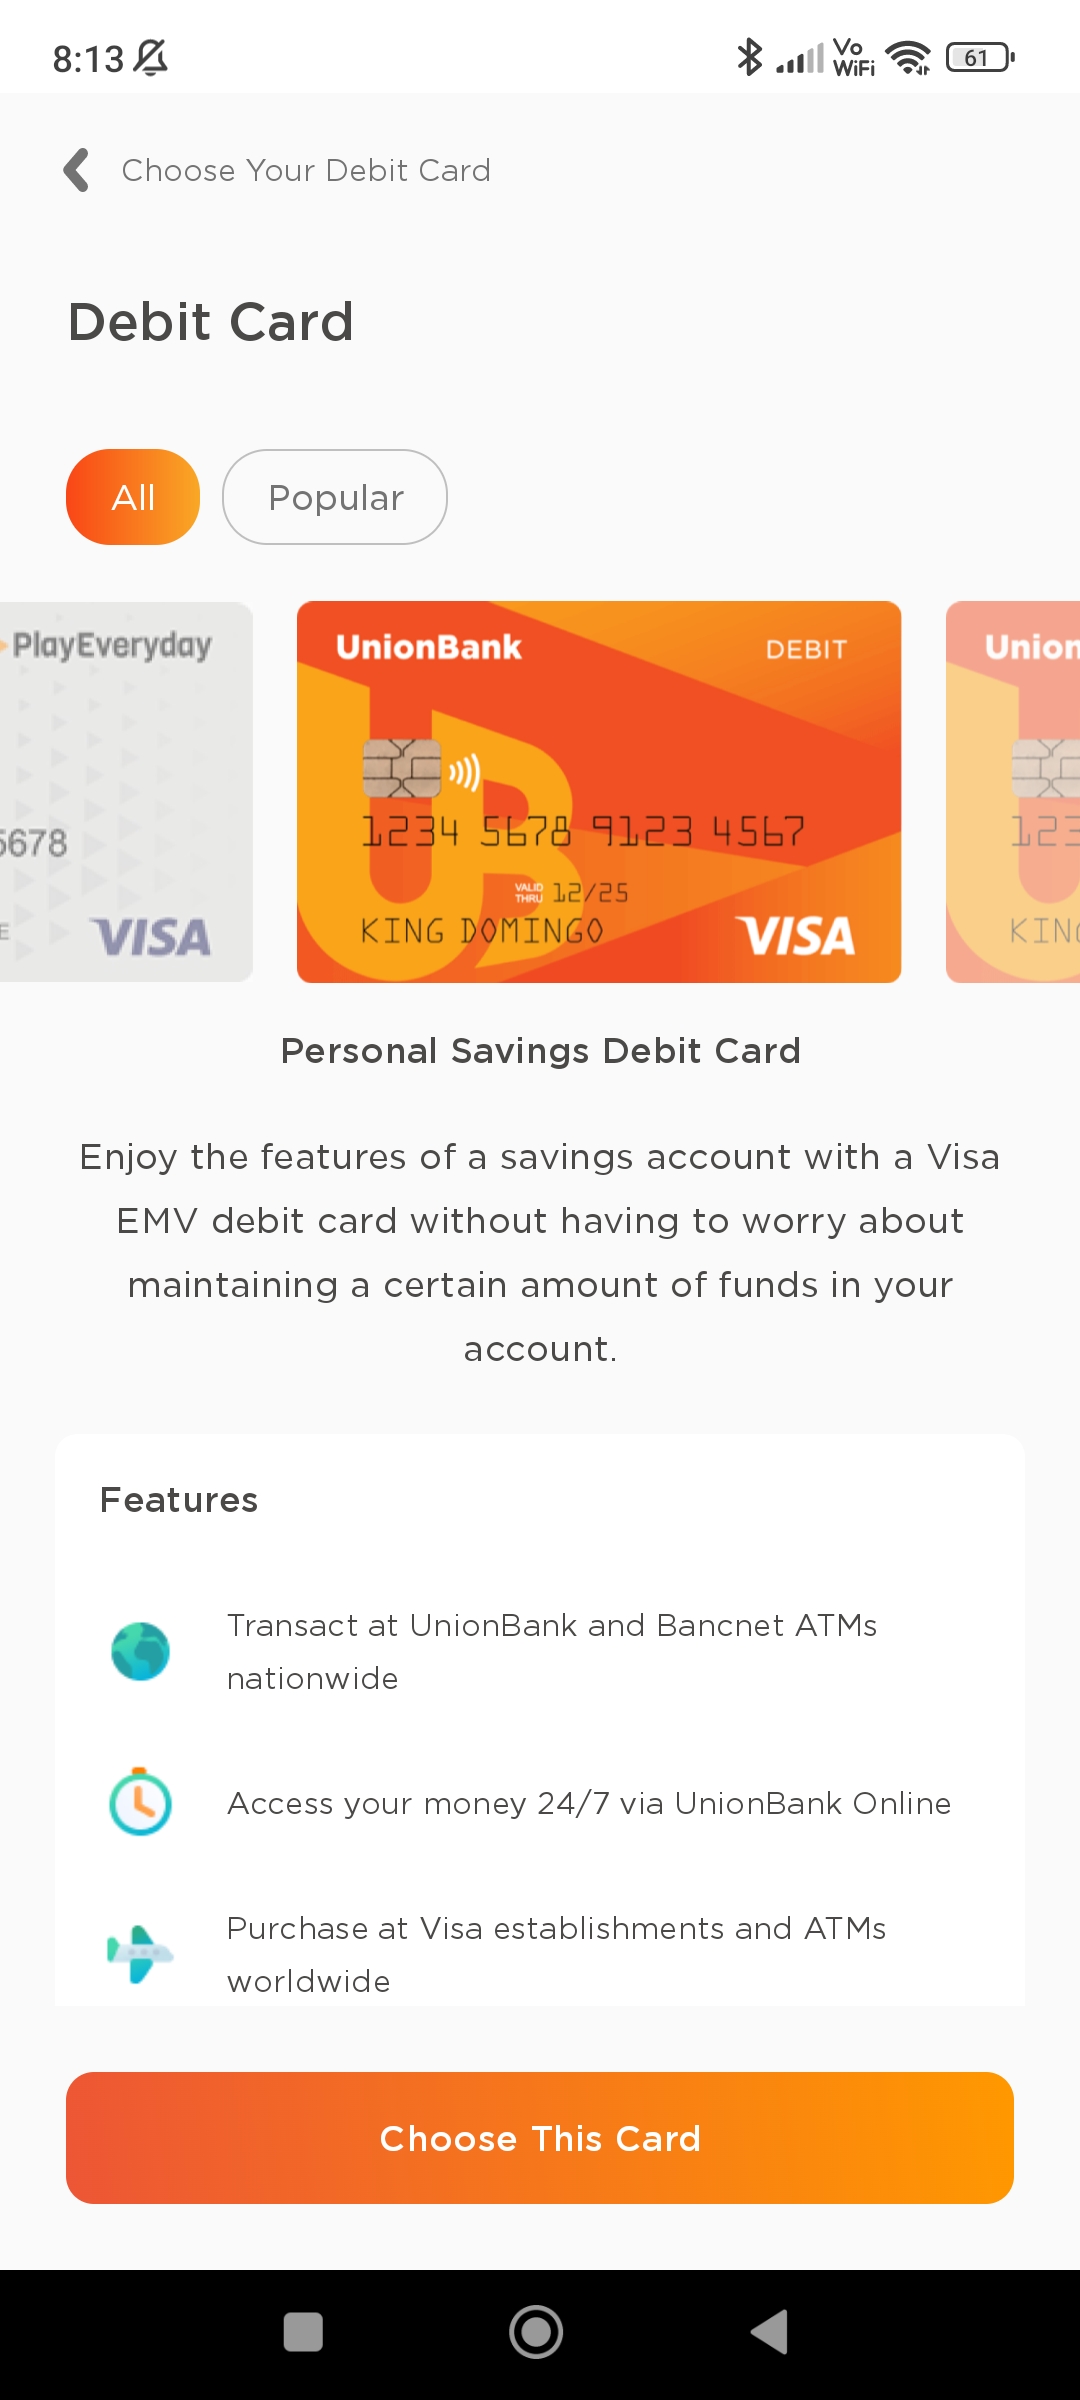
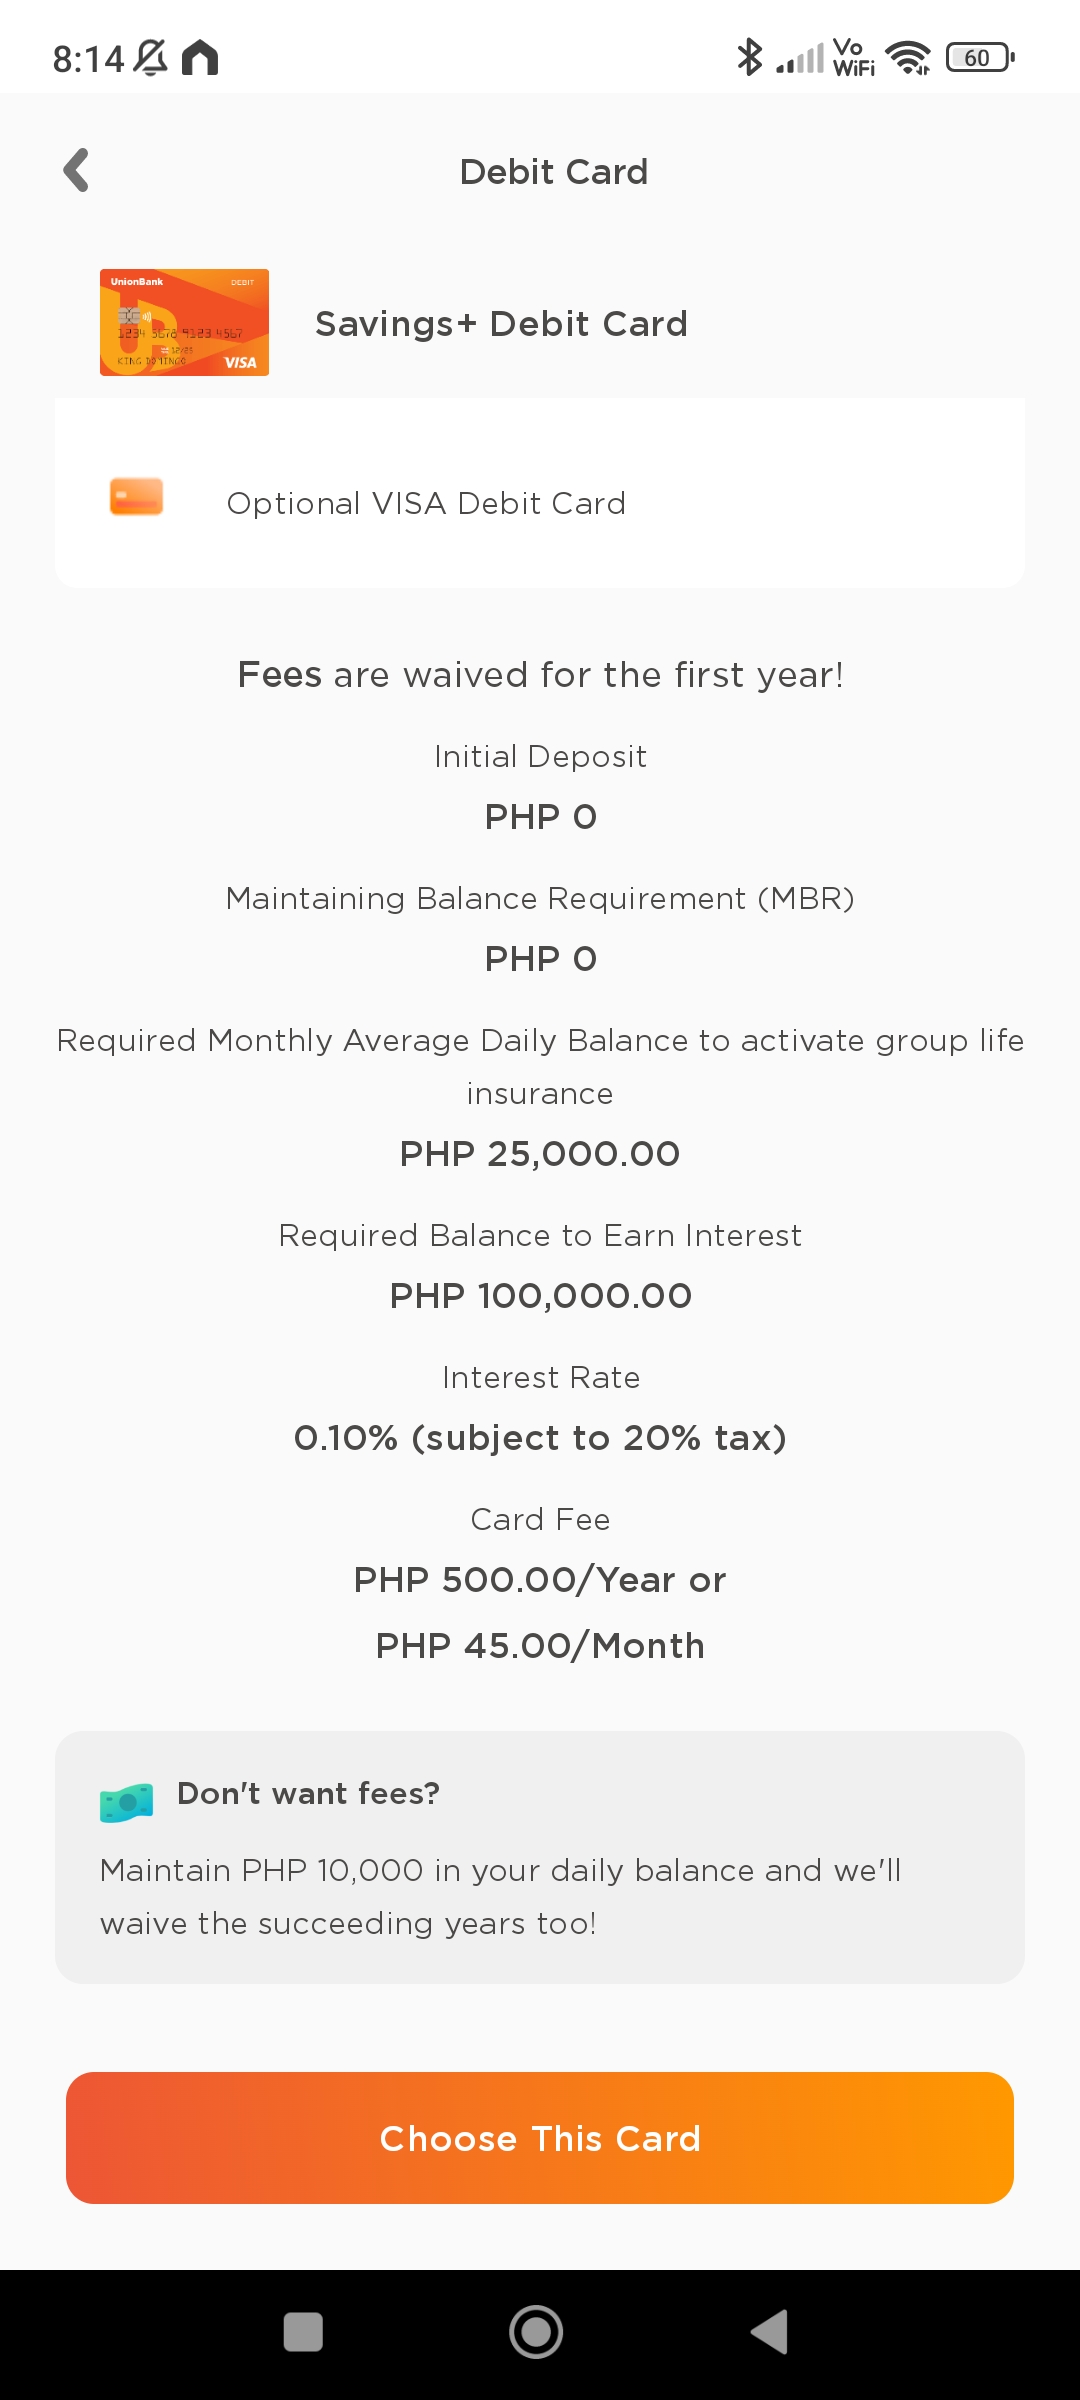
Savings+
In this example we will go for Personal Savings Debit Card. Note that all of these Debit Cards has no maintaining balance requirement which is perfect for OFWs.
Select the “Choose Card” on the selected Debit Card to continue.
06. Next is to set the Contact Number, which will be used to receive an OTP in order to verify your account. Select your country code and enter your phone number, then press the “Continue” button.
07. Enter your received One-Time Password

08. Next is to read the application agreements. Then select the “Continue” button.
09. A reminder screen will be shown stressing the importance of correct details. Select the “Okay” button to continue
10. In the 1st step, Verification. Select the type of ID you want to use in order to verify your identity. Possible options at the time of this writing are below:
- Passport
- PhilSys (National ID)
- PRC ID
- PhilPost (Postal ID)
- Driver’s License
- UMID
- SSS ID
Note that if the ID you have are not listed above, then you need to apply directly at your nearest UnionBank branch. In this example we have chosen PhilSys or the National ID.
11. Once you have selected your ID, you will be asked the following:
- “Use Original ID“. They will only accept actual physical ID and not accept scanned pictures of the ID. The details should also match with the profile you will provide later.
- “Snap It Right“. When taking a picture of the ID, make sure not to cover any parts of the ID. We suggest to use a manila folder a white bond paper or something similar. Place it on a flat surface, then place the ID on top of it.
- “Make It Clear“. Take a photo of it in a well-lit area.
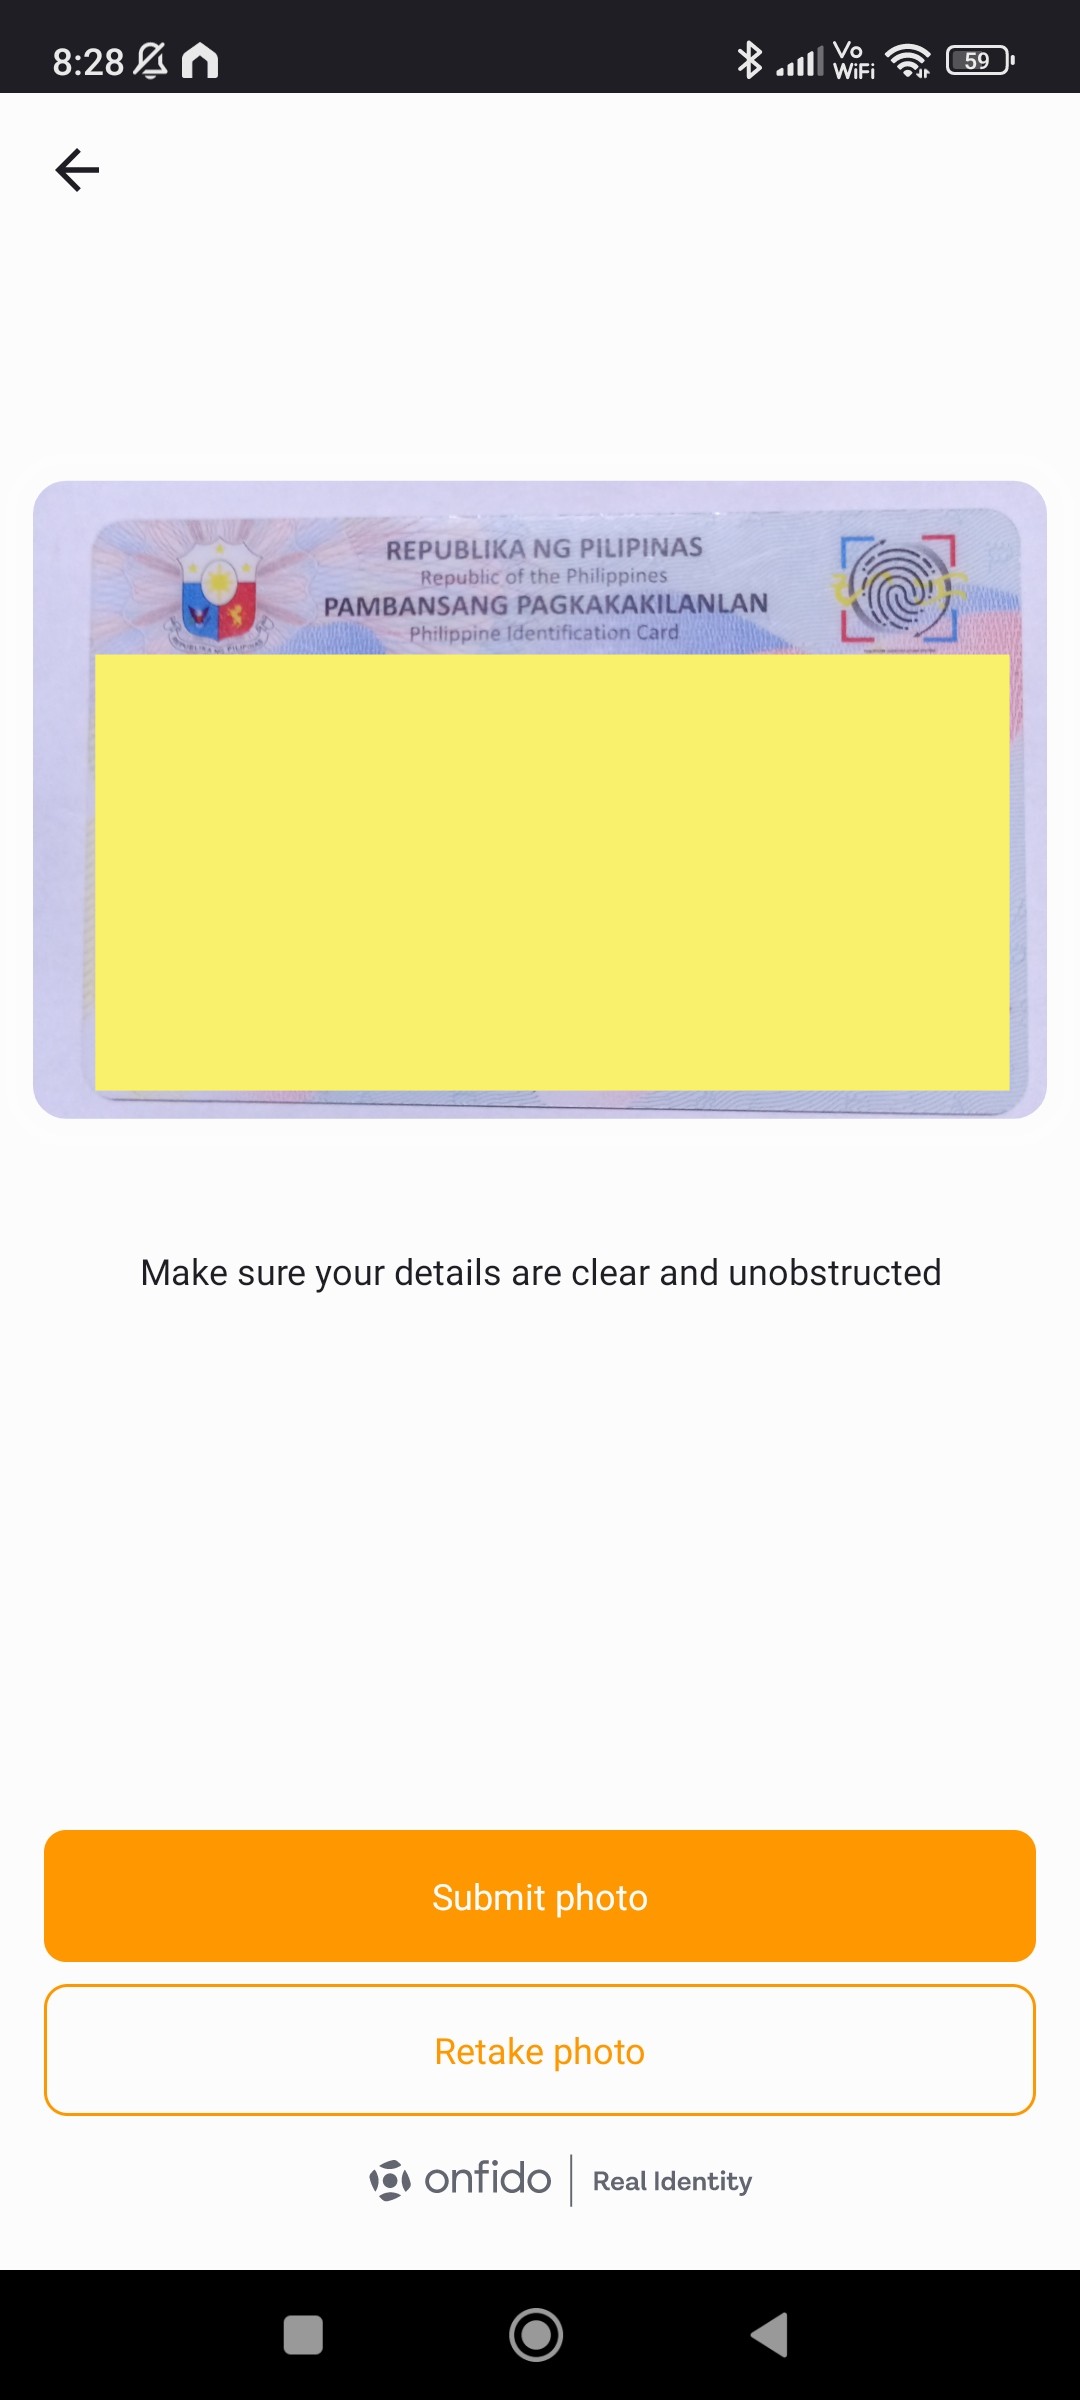
12. Continue with “MY ID is ready”. Then you will need to allow access to the “Camera” function of your smart phone in order to the UnionBank application to take a picture.
13. The application will check the quality of the picture and you can now select the “Submit photo” button. Or retake if you are not satisfied with the quality.
14. A picture of the back of the ID will also be required.
15. validation might take some time. But once completed, it will fill up automatically some details using the scanned ID.
- First Name
- Middle Name
- Last Name
- Suffix (Optional)
- Sex
- Birthdate
Complete the other details then select the “Continue” button
16. My Profile (2 of 5). This step will require details about your Personal Info
- Nationality
- Province of Birth
- City of Birth
- Civil Status
17. My Profile (3 of 5). Mother’s Maiden Name. This is the name of your mother when she was not yet married.
- Mother’s First Name
- Mother’s Middle Name
- Mother’s Last Name
- US Citizenship checkbox.
Select the “Continue” button to proceed to the next step.
18. My Profile (4 of 5). Add details from your ID. Some of them might have already filled up when the application scanned the ID.
- ID Details
- ID Number
- ID Issuance Date
Then click on the “Next” button.
19. The next part involves a selfie. Wear a sleeved shirt and make a decent pose. We suggest to position yourself with a wall at your back with a single color, like white.
20. My Profile (5 of 5)
- Create UB Online Profile
- User ID
- Password
Enter your preferred user ID and follow the requirements for the password. Then select the “Next” button.
21. Complete your address info. These will be used as the address where your card will be delivered.
- Country.
- Province
- City
- Baranggay
- Zip Code
- Building / Street Name
- Unit / House Number
- Checkbox if this is also your “Permanent Address”. If this is not your permanent address, you can un-check this and specify your permanent address separately.
Once complete, select the “Next” button.
22. Finance Info. Select your employment type, of where you get your finds from. The values ranges from
- Private Sector Employee
- Government
- Consulstant/Freelancer/Online Work
- Business Owner/Shareholder
- Casual Trader/Investor
- Retired
- Student
- Unemployed
23. Depending on your selected employment type, you would be required additional details from it, like industry and position. Enter your details and select “Next”
24. Additional Financial Info will also be required. These is mainly your source of of funds.
- Primary Source of Funds
- Secondary Source of Funds
- Purpose of the Account
25. Next is a digital signature using your finger. Write your signature 3 times and continue.
26. Application will now be submitted and an email web sent to your specified email address once your account is read. Select “Got it” button and now you have completed the account creation.
27. You can try logging in with your account, but if it’s not ready yet. You will not be able to continue.
Congratulations, you have now acquired a Union Bank account while not going through a physical branch. Which is quite convenient, specially for Overseas Filipino Workers (OFWs).